The Traxxas 1/16 Revo is one of my favourite RC Cars. It packs 1/10 scale brushless power into a package that you can easily slip into a backpack or a small shopping bag, utilises cheap and readily accessible batteries designed for small RC Helicopters and drones, and is so incredibly customisable that you can build everything from a on-road racer, to a rallycross car, to a full-on race truck with it.
Like with all Traxxas vehicles, there is a huge array of aftermarket options, and flaws with its drivetrain notwithstanding, a lot of its issues can be easily solved with the aftermarket… Except one that I was having.
See, once you put say, a reasonably powerful 1/10 buggy motor into this chassis, you begin to experience some… chaotic handling, let’s call it. Packing huge horsepower into a car that weighs less than 2kg is bound to result in some rather unfortunate accidents. I decided that perhaps installing a gyro would help stabilise the steering and help keep the car tracking straight at higher speeds.
Luckily, I recently purchased a 3D printer.
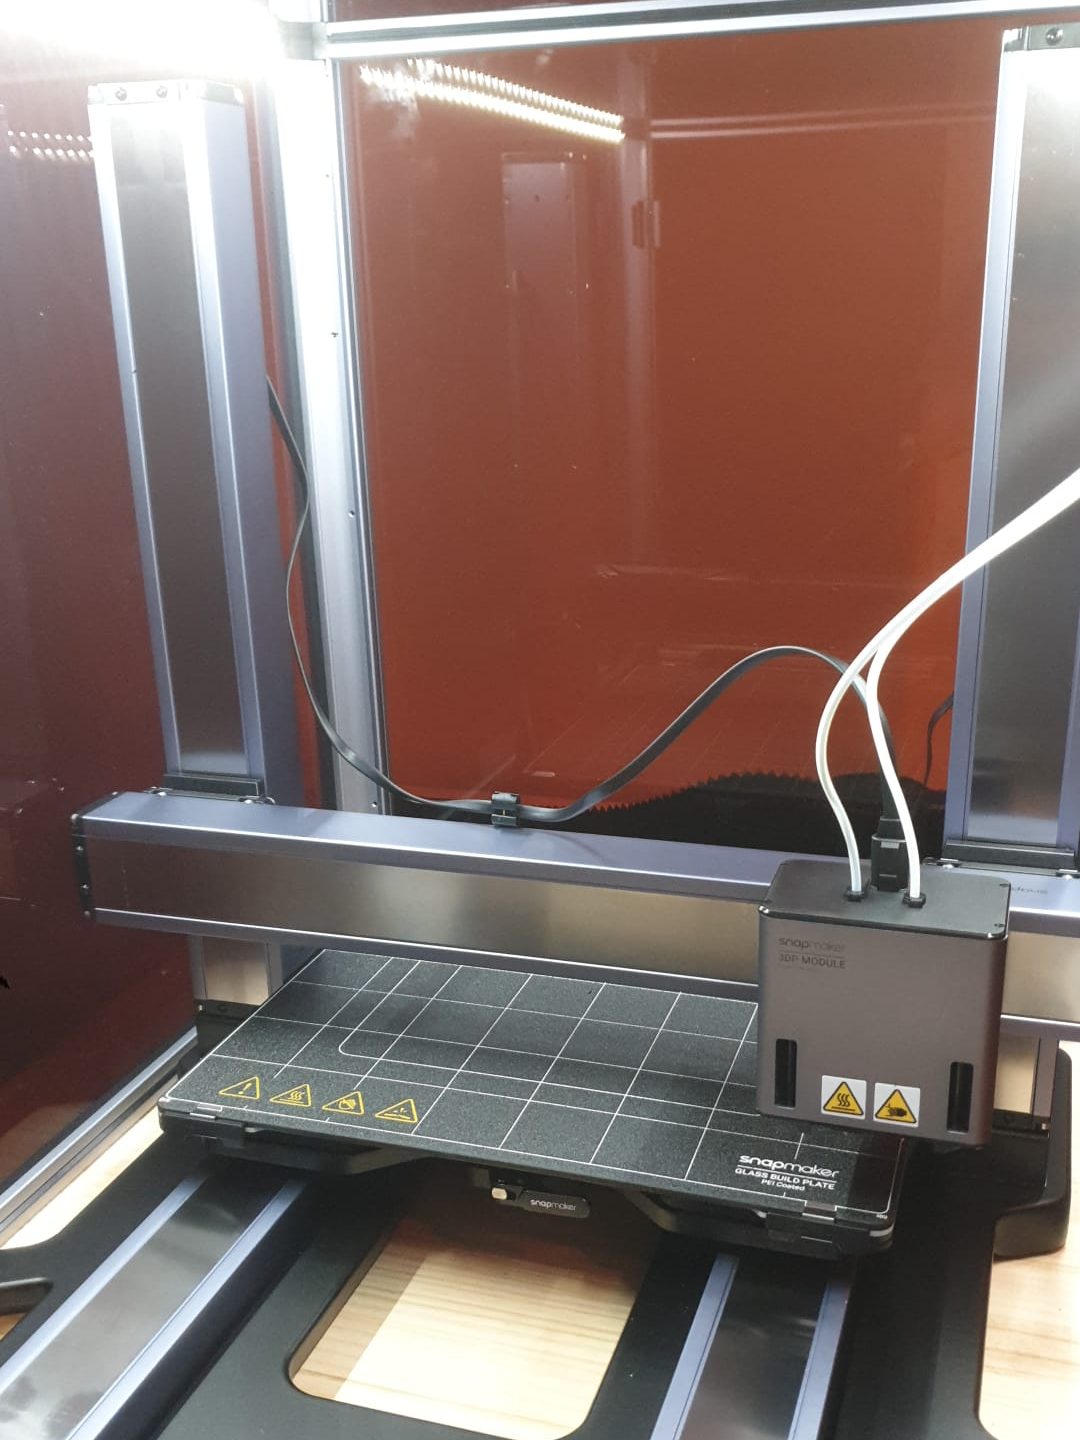
The printer I purchased was Snapmaker’s all new Artisan 3-in-1 3D printer. Why? Well I, as a person who really enjoys making things, made the terrible mistake of purchasing an apartment as my first home. This meant that I only had an additional room on top of my bedroom to turn into my makerspace. This also meant that seeing as I wanted the ability to CNC Machine, 3D Print and Laser-cut stuff, I’d either have to eschew the idea of ever sleeping guests in this room, or alternatively, purchase something that did a little bit of everything. Hence, Snapmaker.

I’ve taken a liking to eSun’s PETG plastic as it is an easily printable material that’s plenty sturdy for making mechanical parts. I’ve already used it to make things for my house, such as some clips to hold up the air conditioning conduit outside, but this material also makes for a fantastic material when it comes to printing RC parts due to its increased mechanical and thermal durability when compared to PLA, whilst also not being a pain in the rear-end like ABS to print.
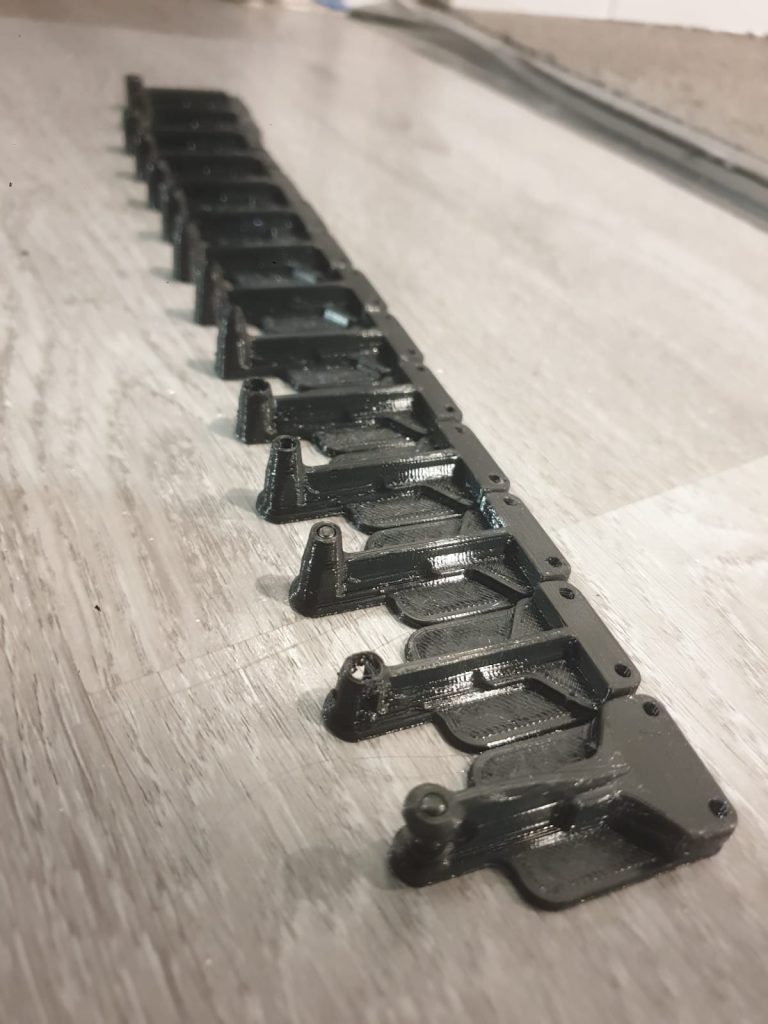
I fired up Inventor and came up with a simple design which connected the front shock tower to the mount where the front body mount sits between the two front shocks. As you can see from the above photo, this took more revisions than I thought would be needed… A total of 16 design revisions and a total consumption of a solid 200gms of PETG. That’s $10 worth of failure right there.
However, I was lamenting on the idea that the front post had to be directly connected to the upper deck, i.e, the screw for the front section would secure through the top of the deck and into the chassis. This meant that the front post of this gyro mount would consistently rub on the front shocks, leading to all kinds of horrible binding in the front suspension. Now another gyro mount does exist that uses the spare servo post on the LHS of the chassis, and I mean, I could put it there, but for starters you want your gyro as close to the steering pivot as possible, at least in terms of XY space, and secondly, I kinda wanted to install a second servo in that spare slot at some point for additional steering torque, as well as redundancy in case the first one happened to fail.
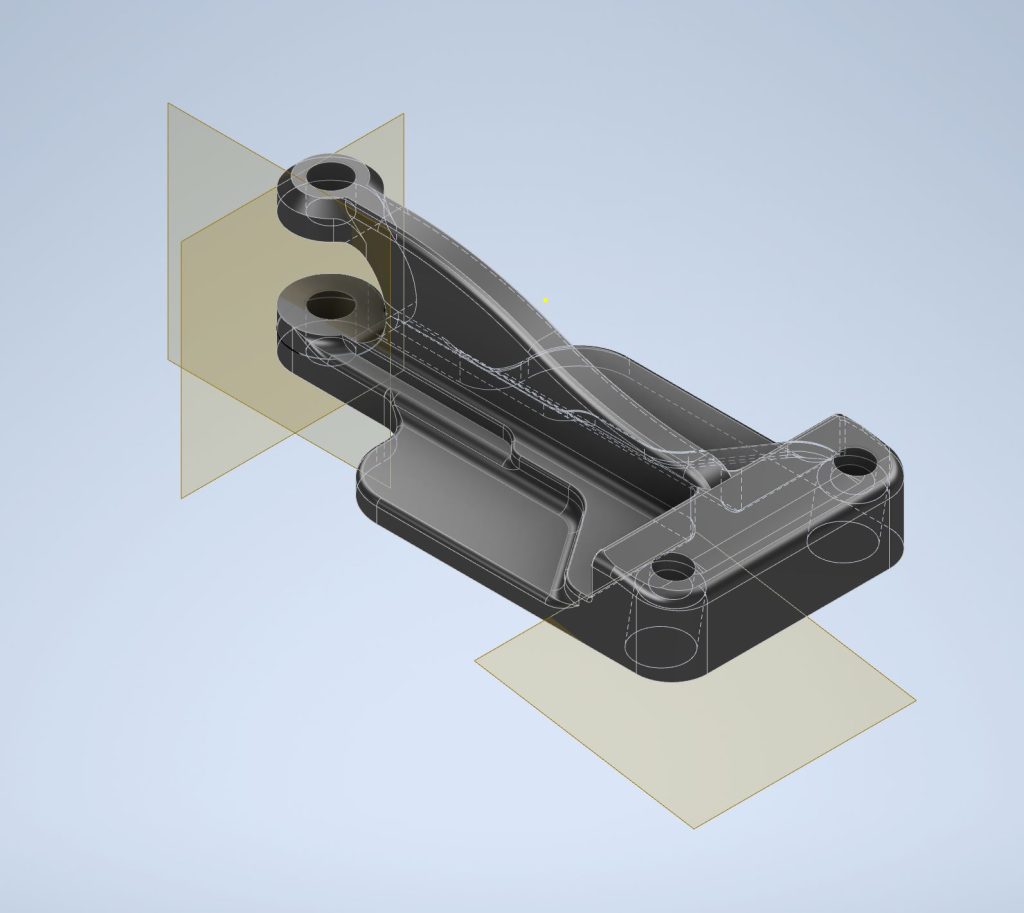
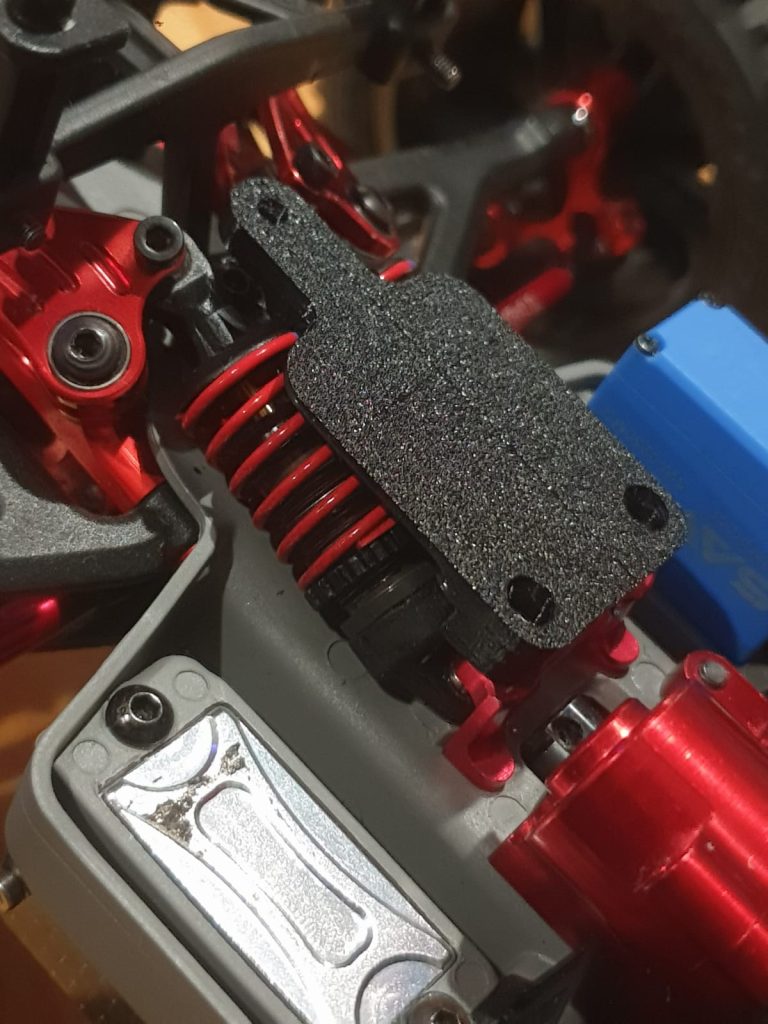
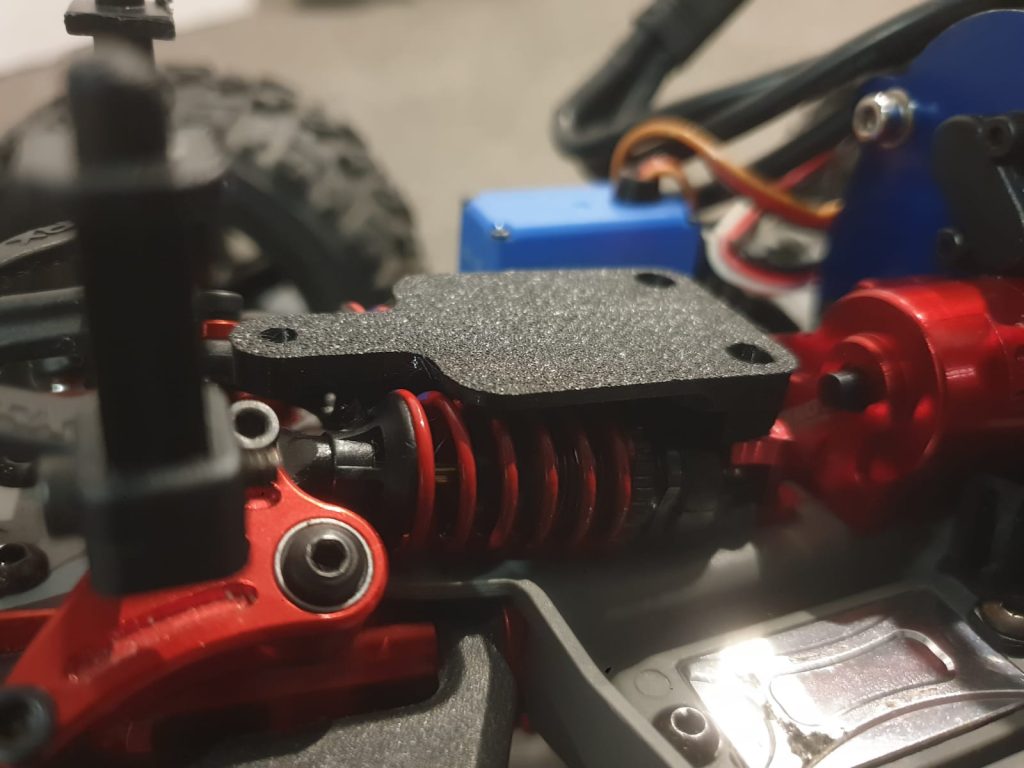
So this ended up being my final iteration. It provides somewhat ample clearance for the shocks, whilst also accomodating a screw on the lower leg of the part, and allowing me to put a screwdriver through the top hole of the part to easily access the screw.
This piece will let me fit something like a SkyRC 302 series Gyro on the top with relative ease, whilst also allowing the second servo space to be open for say, another Savöx 0205WP to go next to it in the spare slot.
So the question is… “How do I get one?” Well, I still have to do some field testing with it to see if there is any significant issues when it comes to clearances, as well as to determine whether or not I can retain the current kick-up angle with the existing servo. (If not, i’ll have to come up with a way to level out the platform so that it’s flat with the terrain… Not that it matters imo). Once that happens, I’ll likely share the files to the site, or if you wish to purchase a pre-printed one, I’ll likely do that for people who wish to do so who don’t own 3D Printers. (Once I figure out how the heck to get an e-commerce platform working on here, that is.)
I’ll keep y’all posted on this front!
Beano out.