Cut stuff with less fuss.
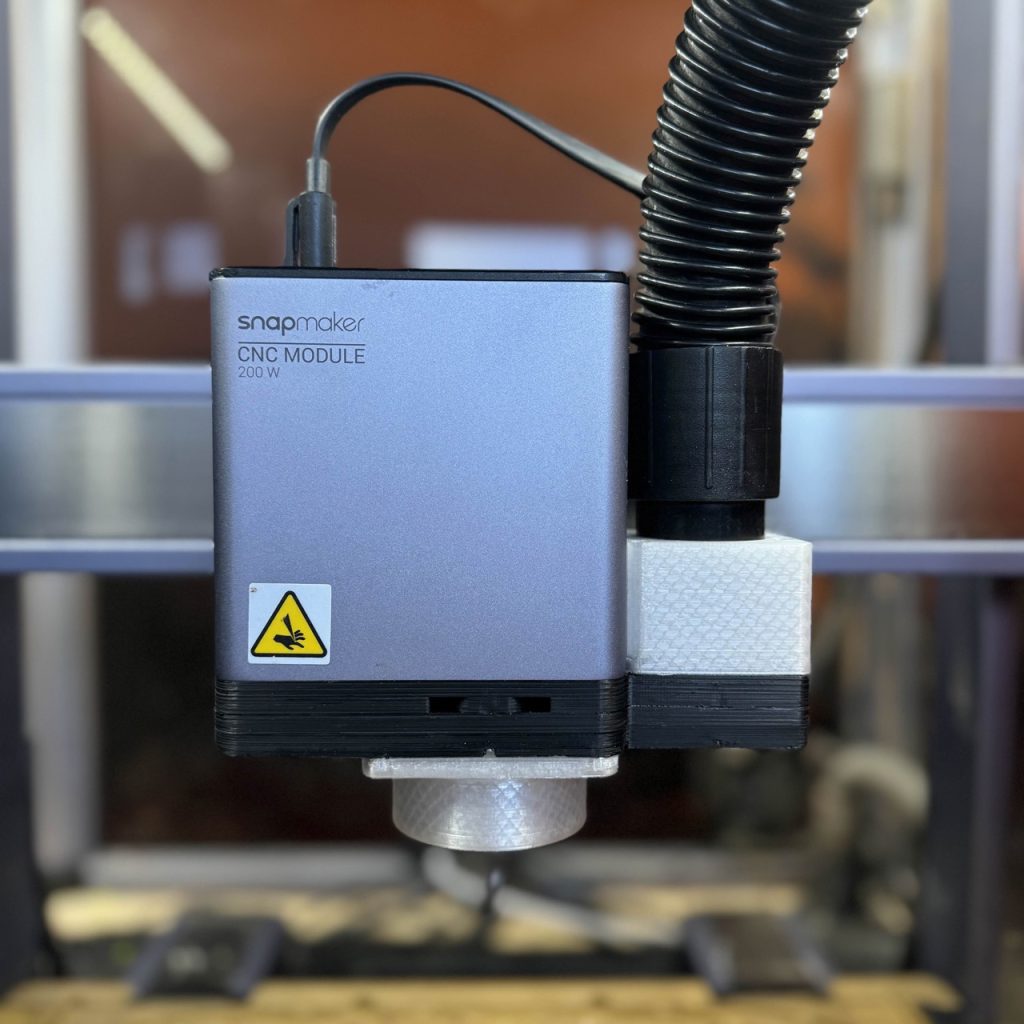
The Snapmaker 200W CNC module is a pretty powerful little tool. It can cut through most non-ferrous materials with ease, however it has one fundamental problem. Dust gets absolutely everywhere when cutting. I’ve tried a bunch of different solutions to this issue, but nothing came close to what i wanted. So, seeing as this machine also acts as a 3D printer, why not knock two balls out the ballpark and print my own design for a dust shoe for this module?
How does it work?
This design comes in 5 pieces:
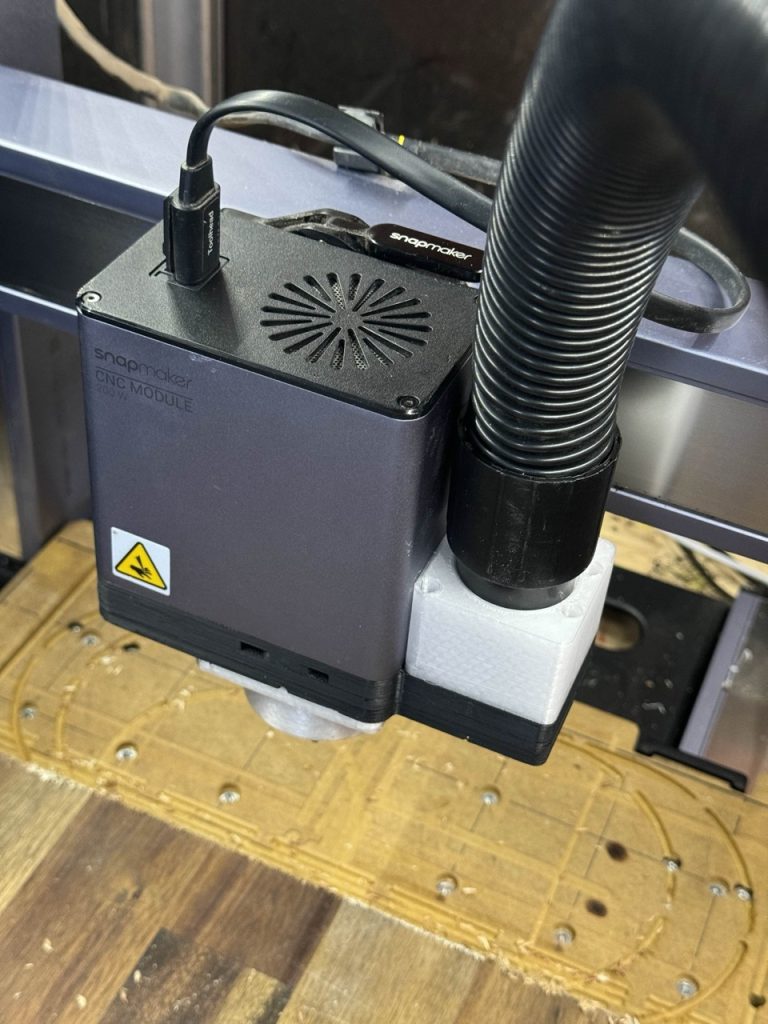
- A mounting plate which bolts the system to the underside of the module, which connects the vacuum inlet pipe to the rest of the system whilst keeping the spindle’s cooling ducts seperate
- A flow chamber which acts as a spacer between the mounting plate and the lower plate
- A lower plate which contains the magnets that will hold the dust shoe to the bottom of the system.
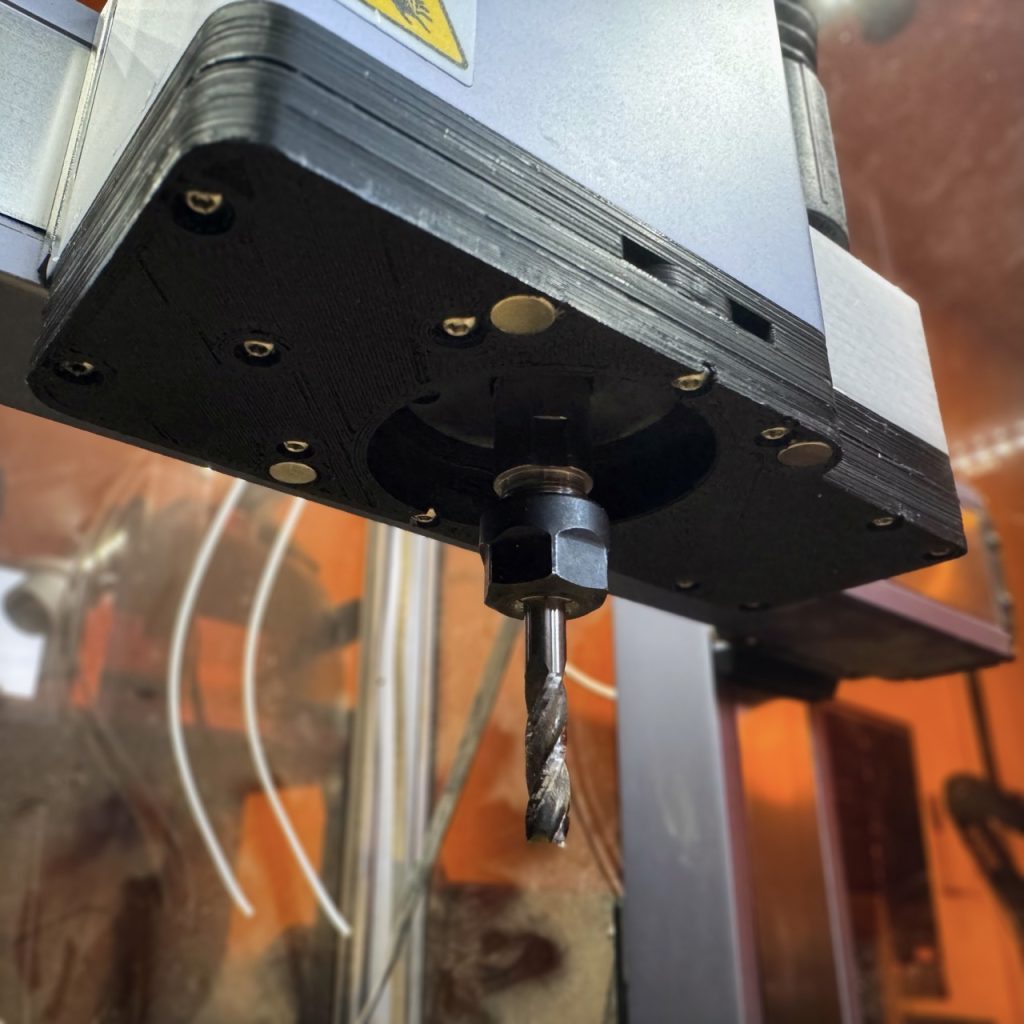
- The dust shoe, which surrounds the spindle and directs vacuum into the system.
- An intake pipe which either comes pre-printed for use with a standard 35mm Vacuum hose (like the one on my shop vac) or a standard CPAP hose.
What do you need to make one?
You need the following components before you can proceed:
- PETG or ASA filament (I recommend eSun, Sunlu or Polymaker)
- 17x CNC Kitchen (or similar) standard-length M3 heat-set inserts
- 13x M3x12mm round-head bolts (stainless recommended)
- 4x M3x8mm round-head bolts (Stainless also recommended)
- Circular rare-earth magnets of any of the following sizes:
- 3x8mm – what I used in my design
- 5x3mm – (Files coming soon)
- A 70mm CNC Brush roll, cut to size.
- A compatible hose clamp
- If printing with PETG: Selleys Powergrip or any other form of Polyethylene compatible glue
- If printing with ASA: a glue that is safe to use with ASA such as CA glue or epoxy.
- The print files which correspond to your choice of magnets and hose.
What settings should I print this in?
Use your preferred material settings for your material of choice. I used PETG for my prints, although you can also print this in ASA if you have the patience to work with it and need to work on pieces that’ll generate a bit more heat. Just be sure to pre-heat your bed/enclosure, heat-soak your nozzle, and recalibrate your Z-offset before you print with ASA. I would also advise to not be in the same room as an ASA print unless you have adequate ventilation or air treatment systems as styrene fumes are pretty nasty.
I used a 35% cubic infill on all parts. This keeps the parts nice and strong whilst also keeping material use low.
Print the magnet plate and the dust shoe surround with zigzag supports with the default “Removeable” setting in Luban. Print slowly for maximum flatness and layer bonding. If there’s any air gaps due to minor warps in ASA prints, there are also files included that you can use to cut out gaskets from automotive gasket paper to seal the layers using the 10W laser.
Always do a test cut before cutting a new material on the laser, and cut with the lowest possible power needed to cut the material.
So what’re you waiting for? Gimmie the files!
So you’re ready to give this a go on your CNC? Well, click the links below to download the version that’s relevant to your choice of magnets. The link will take you to my Thingiverse page, where you can download the files from there.